
Billing · Provider setup
Providers #
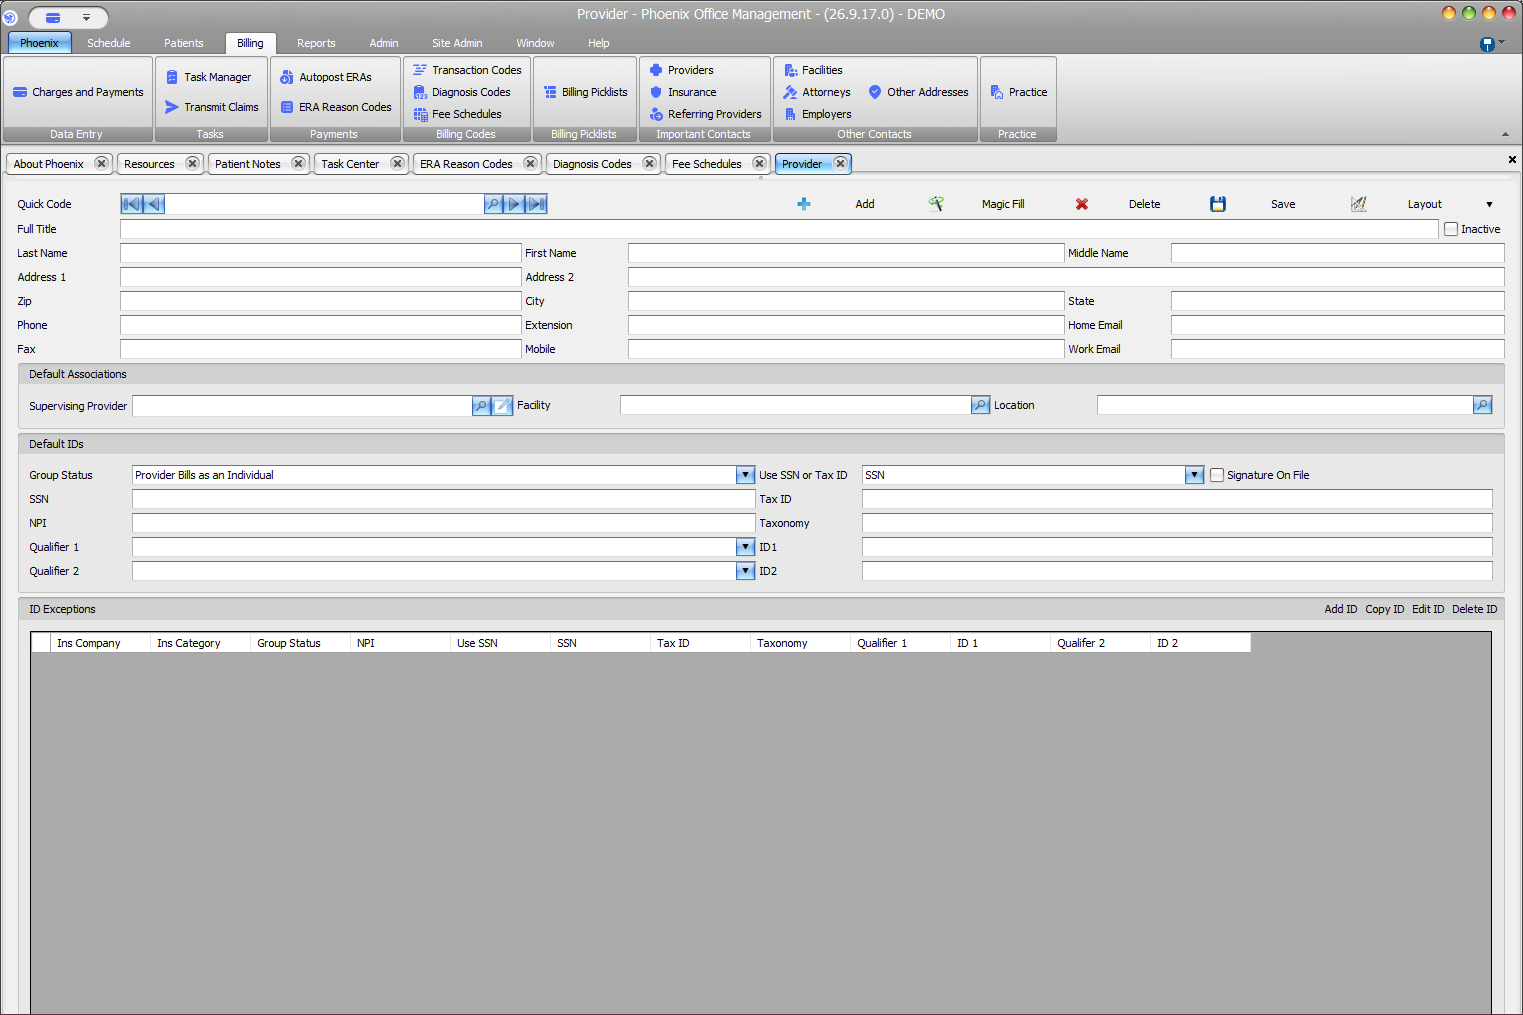
The Provider screen stores provider identity, contact, association, and billing identifier information. Scheduling resources are configured separately.
Keyboard shortcuts: In a form, press F2 to save and Esc to close. On data-entry-heavy screens, press Ctrl+↓ for the next layout group or Ctrl+↑ for the previous layout group.
Open the Provider screen #
- Select the Billing tab on the Phoenix ribbon.
- In Important Contacts, select Providers.
- The Provider tab opens in the Phoenix workspace.
Information to review #
- Identity and contact details
- Default Associations: Supervising Provider, Facility, and Location
- Default IDs: group status, tax ID selection, NPI, taxonomy, qualifiers, and IDs
- ID Exceptions for insurance-specific values
Find and review a provider #
- Use the toolbar search or record navigation controls.
- Confirm the Quick Code and provider name.
- Review contact information and Default Associations.
- Review Default IDs and any ID Exceptions.
- Make changes only when you are authorized and have verified the source information.
- Select Save after an approved change.
Provider identifiers affect billing
Do not guess an NPI, Tax ID, taxonomy, qualifier, or insurance-specific value. Verify the value from an approved source before saving.
Check the provider’s scheduling setup #
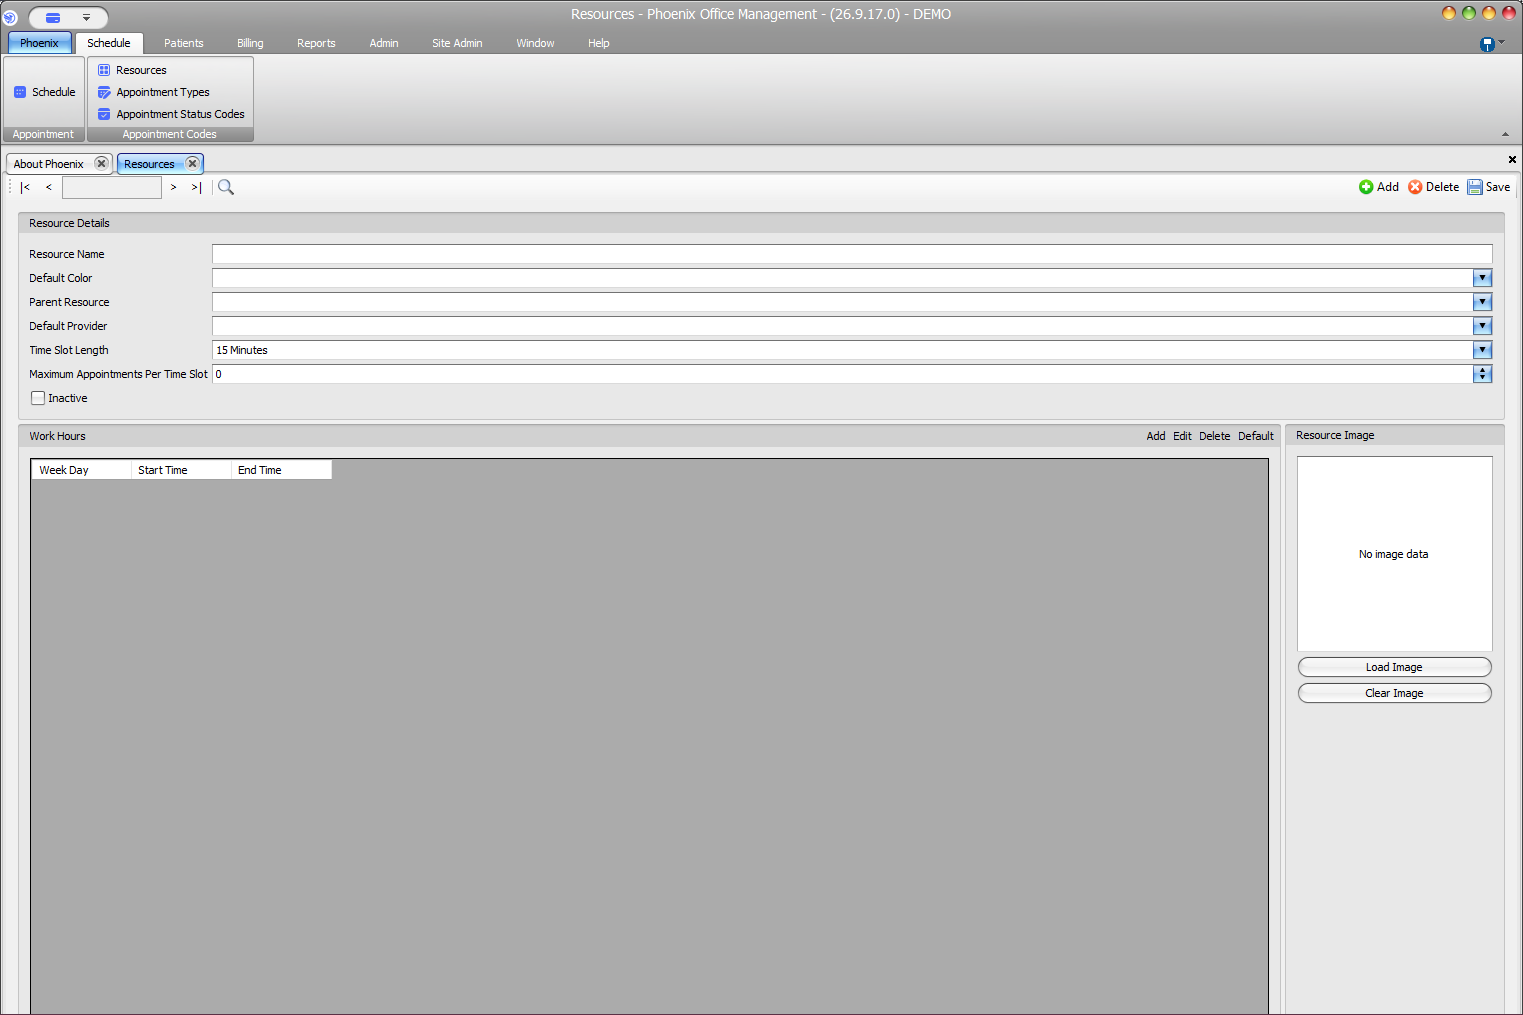
- Select Schedule > Resources.
- Locate the intended scheduling resource.
- Review Default Provider, Inactive, and Work Hours.
- Open the Schedule and confirm that the resource is included under View Resources.
A provider may exist on the Provider screen without a corresponding visible scheduling resource. Ask an authorized administrator to review setup before creating a duplicate provider.