
Scheduling · Appointments
Creating an Appointment #
Create an appointment from the Phoenix scheduler after confirming the patient, resource, provider, date, and time. A new appointment should be reviewed as a complete scheduling record before it is saved.
Before you begin #
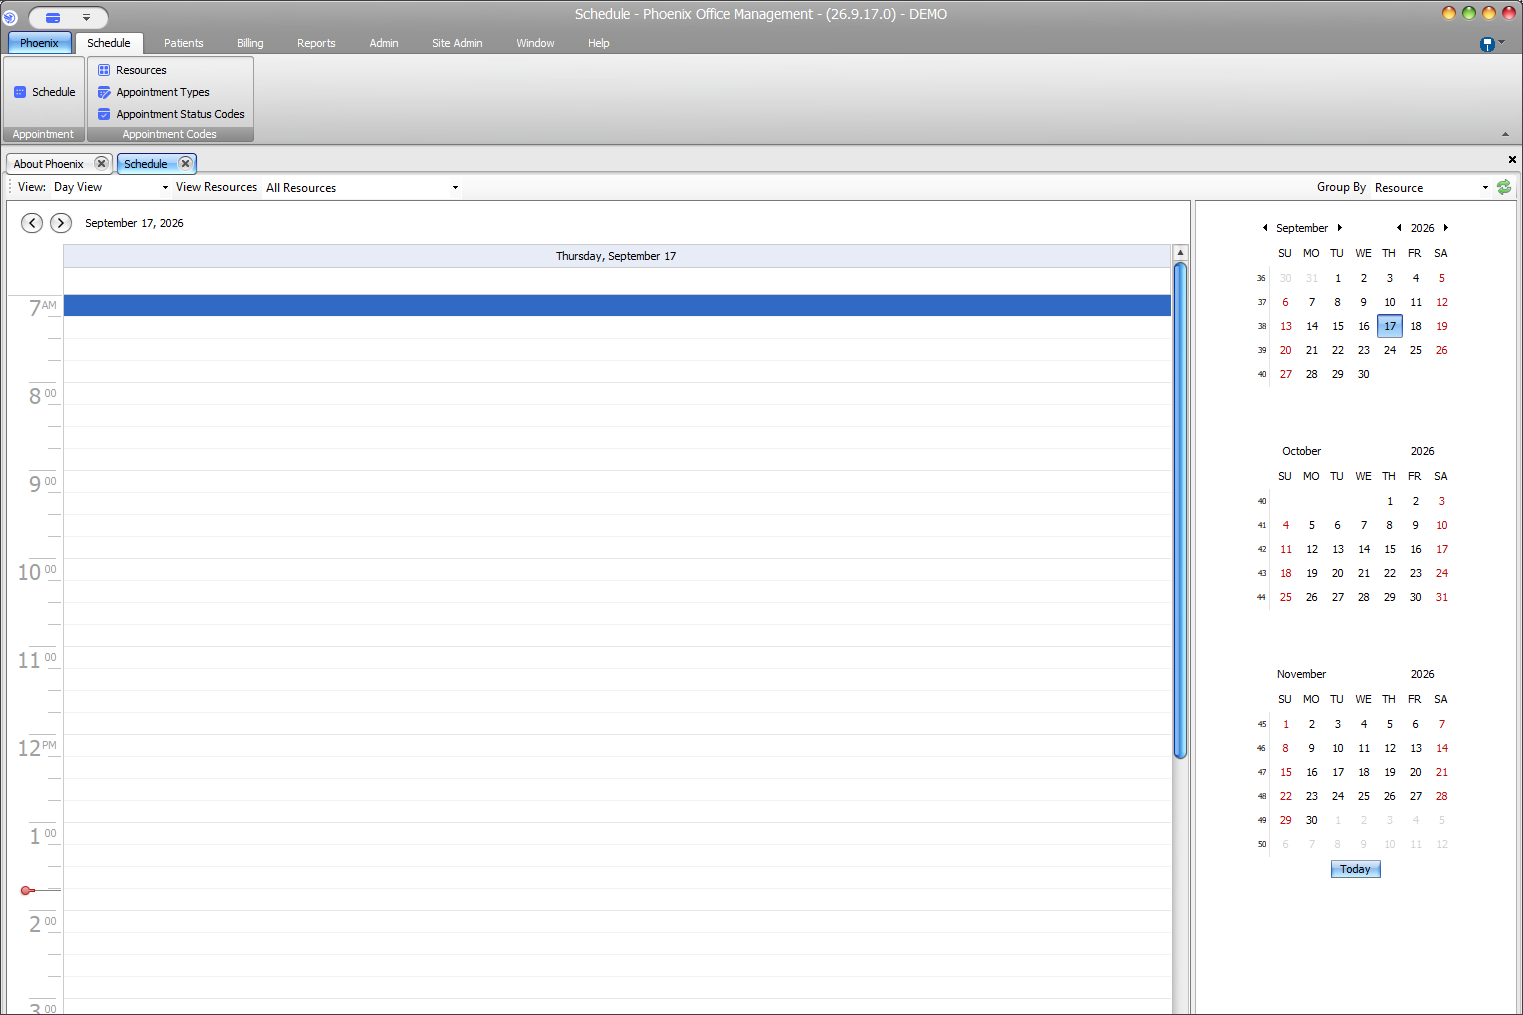
- Open the Schedule and navigate to the intended date.
- Confirm the patient exists in Phoenix.
- Know the intended resource/provider, appointment type, and time.
What to do #
- Open a new appointment from the appropriate schedule slot.
- Select the intended patient.
- Review the Resource(s) and Provider fields.
- Confirm Start Date, Start Time, End Date, End Time, and duration.
- Review Appointment Type, Status, Appointment For, and Note as applicable.
- Complete the appointment using the normal Phoenix save/OK workflow.
Verify before you finish #
- The patient is correct.
- The start and end date/time describe the intended visit.
- The provider/resource and appointment type are correct.
Important
On a blank appointment form, OK may remain unavailable until enough appointment information is present. Do not fill unrelated fields with guesses merely to enable the button.
Related information #
Use the related Phoenix Help articles for the patient, insurance, scheduler, appointment status, and provider workflows when the issue crosses more than one area.