
Scheduling · Appointments
Canceling an Appointment #
Canceling an appointment should preserve the fact that the appointment existed while clearly showing that the visit will not occur as originally scheduled. Use the appointment-status workflow approved by your practice.
Before you begin #
- Open the existing appointment, not a blank appointment window.
- Confirm the patient, date, and time.
- Know whether your practice expects a canceled status and a scheduling note or reason.
What to do #
- Open the existing appointment details.
- Verify that it is the appointment you intend to cancel.
- Use the appointment status or cancellation workflow available in your current Phoenix setup.
- Add the appropriate scheduling note or reason when your practice requires it.
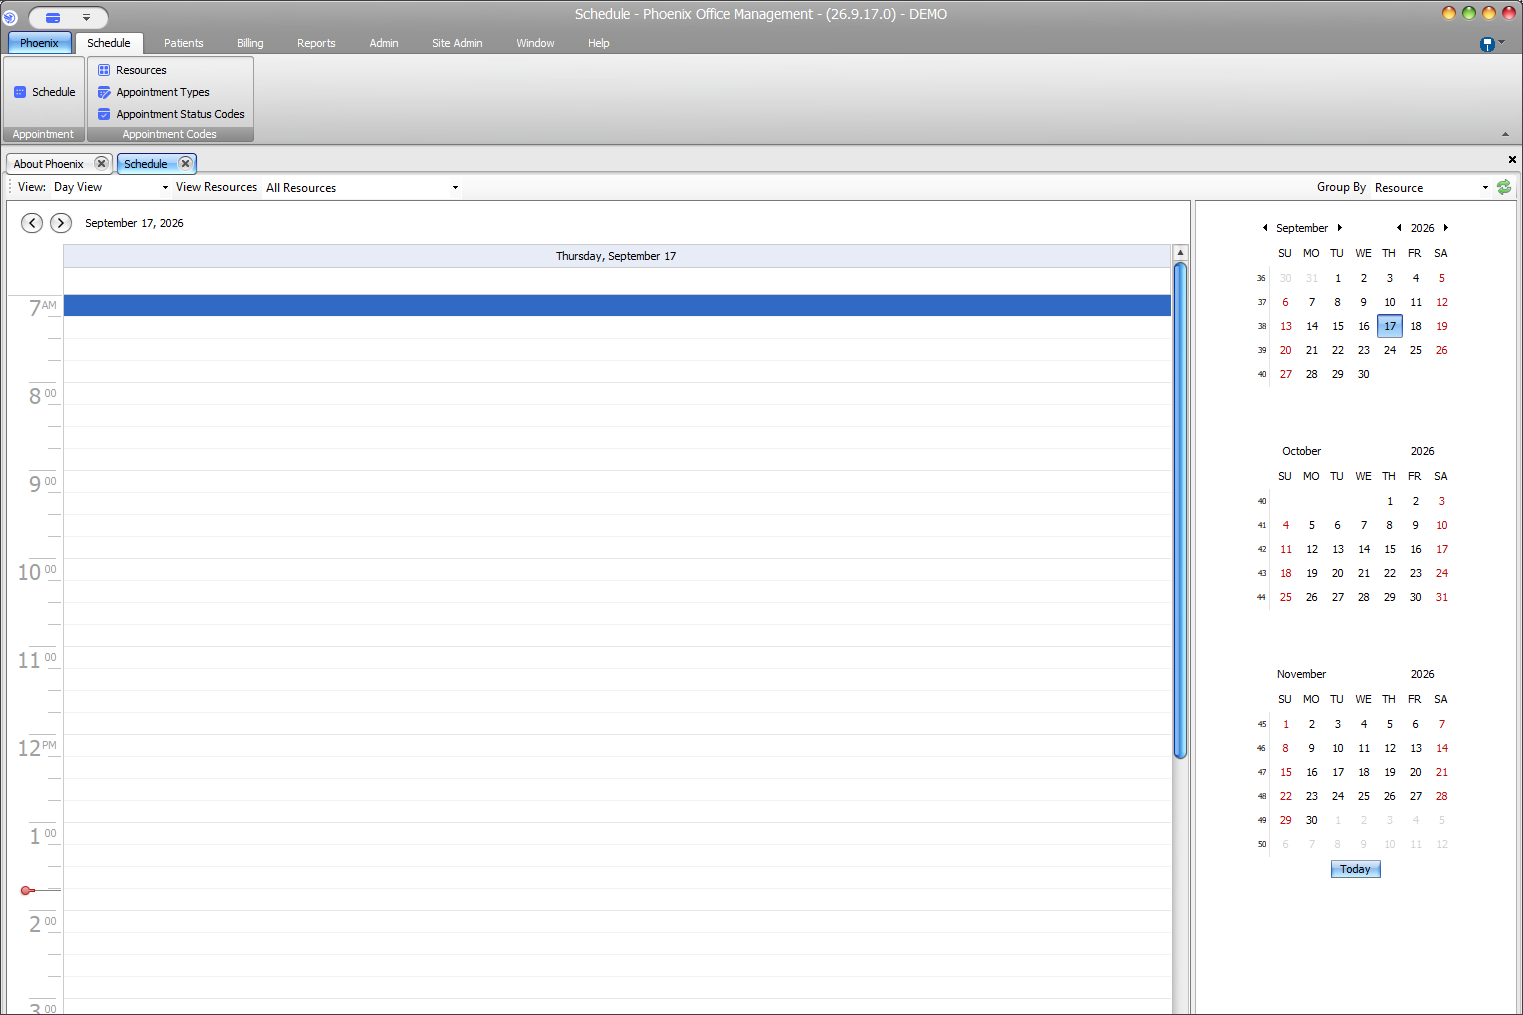
- Save and confirm the schedule reflects the canceled state.
Verify before you finish #
- The correct appointment was changed.
- The appointment is no longer treated as an active upcoming visit.
- Any required cancellation note or reason is attached to the intended appointment.
Important
Do not confuse the Cancel button on an appointment-entry window with canceling a scheduled appointment. The window button can simply close the form.
Related information #
Use the related Phoenix Help articles for the patient, insurance, scheduler, appointment status, and provider workflows when the issue crosses more than one area.